Quick answer
Liquid lipstick can become harder to shape when each correction adds another wet stripe. Use the wand tip to outline, its broader edge to fill with a thin, even coat, then follow the directions for your exact formula. Check whether it calls for blotting: some do, while others say to leave the color undisturbed as it sets.
Check your formula’s directions first
The setting sequence depends on the product. Revlon’s U.S. directions for ColorStay Limitless Matte Liquid Lipstick call for a thin, even coat and 30–45 seconds of drying without disruption. KVD Beauty’s current U.S. directions for Everlasting Hyperlight Transfer-Proof Liquid Lipstick call for blotting with a tissue, followed by about 30 seconds to set.

Maybelline Singapore’s SuperStay Matte Ink directions specify a thin layer and 30 seconds to set matte. Those instructions apply to that product and market. Follow the label for the lipstick you have, including its version and market; don’t carry one brand’s blotting or timing step over to another formula.
Prepare your lips as directed
KVD specifies clean, dry lips for Hyperlight application. Keep that instruction specific to this formula, and check your own product’s directions before adding balm or gloss underneath. You don’t need to add a scrub or primer to follow the application steps here.
Read the label, wash your hands before using cosmetics and don’t share your lipstick or applicator, as the FDA advises. If a cosmetic irritates your lips, stop using it.
Outline with the wand tip
For ColorStay Limitless Matte, Revlon directs users to start at the Cupid’s bow and follow the lip contours with the pointed tip, then fill with the applicator. KVD likewise assigns its precise tip to lining and defining, and its angled edge to filling. Turn the wand so its narrow tip traces the border; save the broader surface for the center of your lips.
Work around the edge before filling. That gives you a chance to define the shape before more color covers the wider area. If you keep going over a section while correcting the outline, it can be harder to judge how much product is on it. Use the part of the applicator intended for the step, then move on to filling.
Fill with one thin, even coat
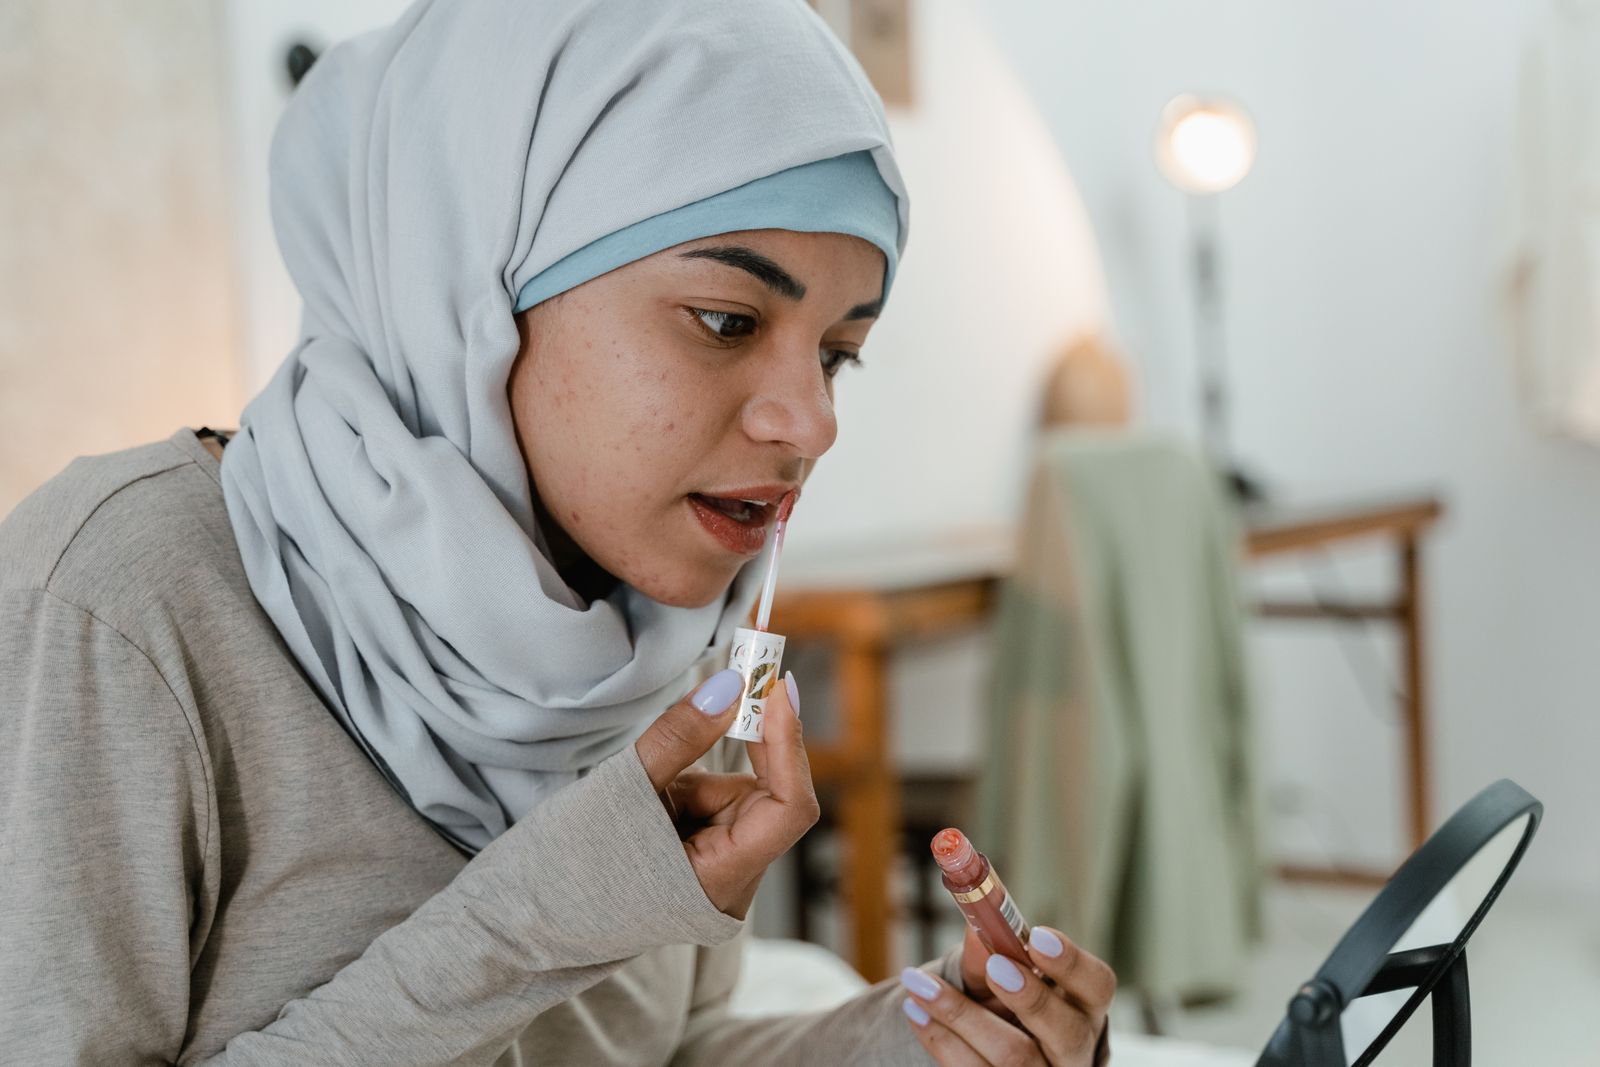
Use the broader applicator surface to cover your lips evenly. Revlon calls for a thin, even coat, and Maybelline Singapore also directs users to apply a thin layer. Start with that first application and assess it before adding more; don’t keep painting while the formula is setting.
A heavy stripe around the edge and a lighter center can make the coverage look uneven. Adding another coat over the whole mouth may not address the difference. Check the result once you’ve completed the first coat and the product’s specified next step.
Blot only when your product calls for it
For KVD Everlasting Hyperlight, the directions place a tissue blot after filling and before setting for about 30 seconds. Let the color set without rubbing or smacking your lips.
For Revlon ColorStay Limitless Matte, the direction is to leave the application undisturbed for 30–45 seconds. Don’t add KVD’s blotting step to Revlon’s sequence. These timings belong to the named products; follow your own lipstick’s instructions.
Correct the shape with a clean start
If you want to redo the outline, check the product’s removal directions before layering more color over your lips. Revlon recommends an oil-based makeup remover or makeup-remover wipes for ColorStay Limitless Matte. Follow the remover’s label, then return to the tip-first outline and thin-coat fill when you’re ready to apply again.
The routine is simple: define the edge, fill evenly, and use the blotting and setting steps specified for your formula. Repeating the sequence with a clean start can help you get familiar with the applicator and the amount of product you’re applying.
Read next
Sources
- Revlon U.S.: ColorStay Limitless Matte Liquid Lipstick directions
- KVD Beauty U.S.: Everlasting Hyperlight Liquid Lipstick directions
- Maybelline Singapore: SuperStay Matte Ink directions
- FDA: Using Cosmetics Safely
Image credits
- Featured image: MART PRODUCTION / pexels.com (original image page)
- Body image 1: pexels.com (original image page)