
Quick answer
Lip tint looks patchy on dry lips because rough flakes hold more pigment than the smoother parts of the mouth. The color lands darker where the surface is broken, then turns lighter where balm, saliva, or movement keeps the stain from setting. The fix is usually less about buying a new tint and more about giving the lips a smoother, drier starting point with a calmer moisture barrier.
- Prep early so the lips are soft before the tint goes on.
- Blot away shiny balm right before color.
- Apply thin layers from the center outward instead of flooding the whole lip at once.
- If the lips are actively cracked, prioritize repair first because tint cannot look even on a surface that is still splitting.
When the lips feel comfortable and mostly smooth, lip tint usually reads polished. When they feel tight, flaky, or glossy with too much balm, the same tint starts showing every uneven spot.
Why dry lips grab stain unevenly
Cleveland Clinic describes chapped lips as a form of cheilitis and points to dryness, irritation, weather, and repeated lip habits as common triggers. That matters in makeup terms because a lip tint does not sit above the lip the way a creamy lipstick can. A stain clings quickly, so any peeling edge or micro-crack becomes a stronger pigment anchor.
DermNet uses the same broader cheilitis framing and notes that soothing emollient lip balms and sunscreens are usually recommended. Read that through a beauty lens and the problem becomes straightforward: if the lip surface is inflamed or dehydrated, the lip barrier is already uneven and color will not spread with the same speed everywhere. One area absorbs fast, another stays slippery, and the finish starts breaking apart before you even leave the mirror.
This is why patchiness often looks worse on the inner lower lip, the dry line near the corners, or that one raised flake you hoped the tint would somehow hide. Stains rarely hide texture. They outline it.
The three main reasons patchiness happens
| Cause | What you usually see | What to change first |
|---|---|---|
| Dry flakes | Darker color stuck to one rough area | Smooth and soften lips earlier, not right at application time |
| Too much fresh balm | Tint slides at the edge and sets unevenly | Blot off surface shine before color |
| Over-layering | The center gets heavy while the outline looks thin | Build in two light passes instead of one thick coat |
Most patchy lip-tint problems are a prep problem first and a formula problem second. That is useful because it means the mirror usually gives you a clue. If the lips already look textured with no color on them, tint will exaggerate it.
Why lip balm can help and sabotage at the same time
People often hear "prep with balm" and stop there, but timing is the real answer. A cushiony layer can soften the lips if it goes on early enough. A wet layer sitting on top of the lips five seconds before stain is different. It makes the surface too slippery, so the tint goes on in skips and then dries in rings where the balm was thinner.
That is why the cleaner routine is to apply balm earlier while you do the rest of your makeup, then blot it down before you add tint. If the lips still feel visibly slick, wait a minute longer. The goal is soft lips, not shiny lips.
Laneige positions its Lip Sleeping Mask as an overnight moisture product that helps soften lips by morning. That fits the bigger pattern here: some patchiness is a same-day issue, but a lot of it starts the night before. If lips wake up smoother, the morning tint routine becomes easier immediately.
How to make a lip tint land more evenly
The best recent Byrdie lip-stain testing notes line up with this: lip stain tends to look best on exfoliated lips, and even the glossy formulas wear better when the stain layer is allowed to take over rather than staying overly wet. You do not need aggressive scrubbing for that lesson to matter. You need a lip surface that is calm enough for light, even color.
Use this order:
- Apply a plain balm or lip mask early in your routine.
- Blot it down until the lips feel soft but no longer shiny.
- Start the tint at the center of the lips.
- Press or spread outward in thin layers.
- Stop after the first even veil and only add more where color actually dropped away.
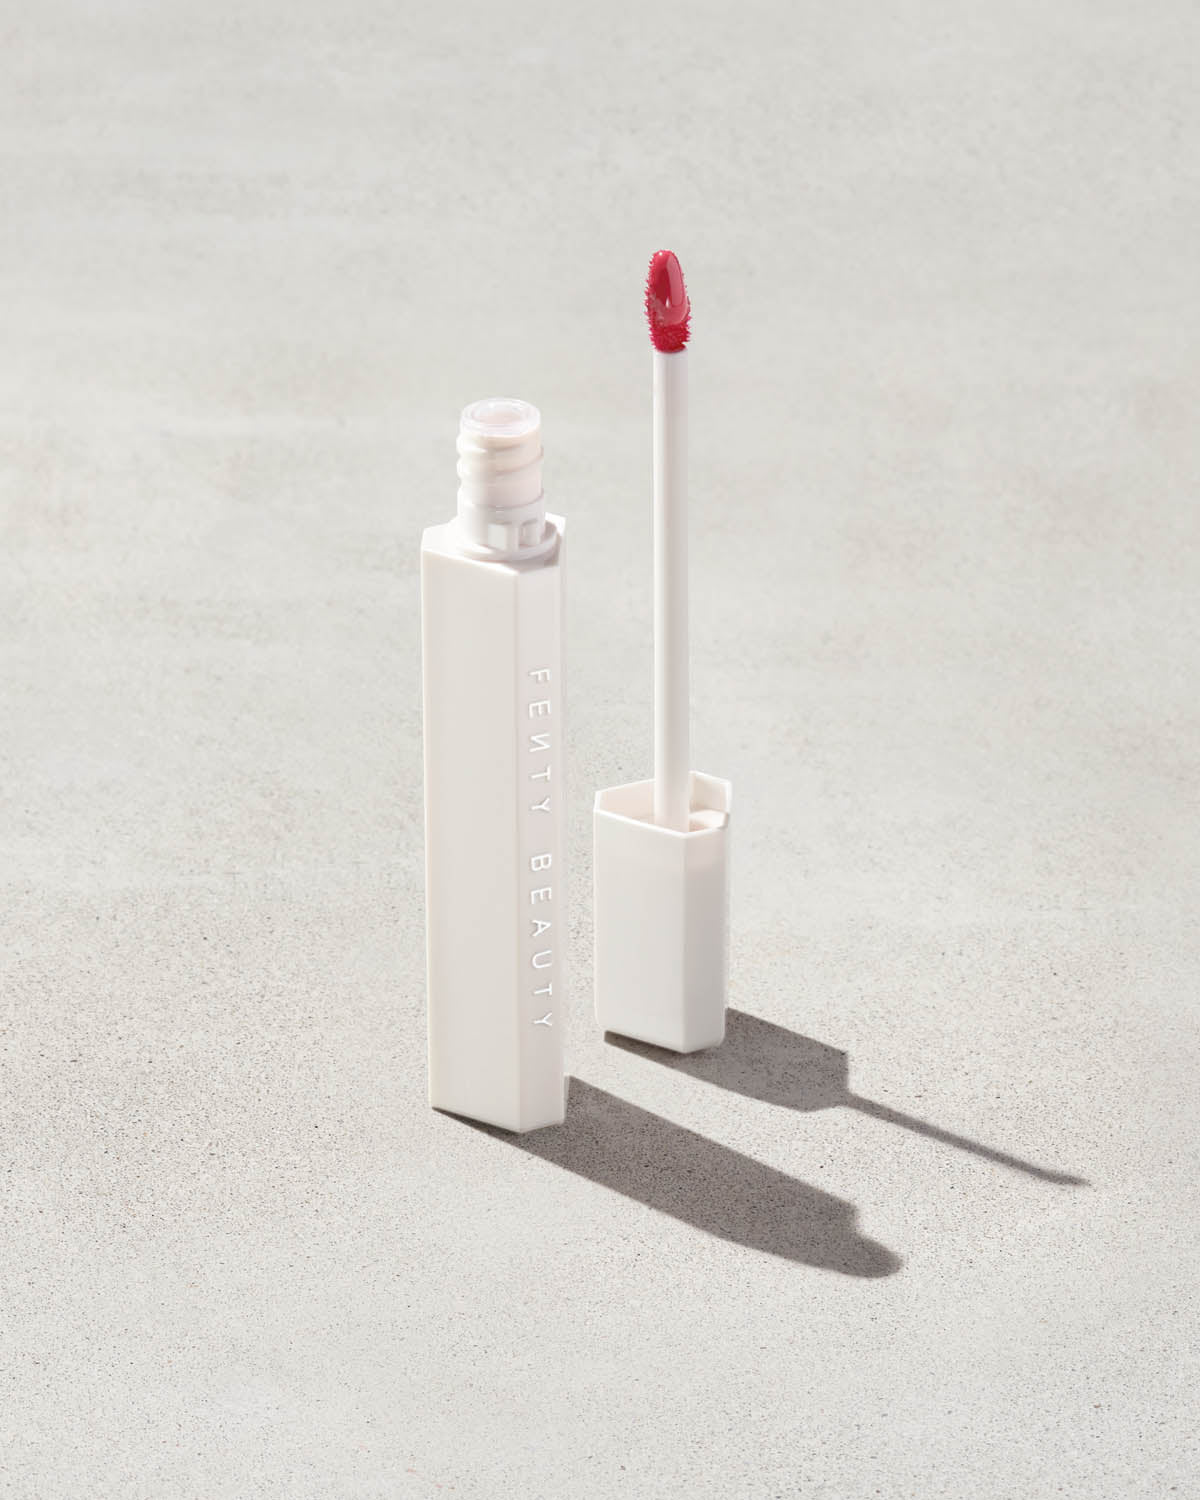
Fenty Beauty's Poutsicle page is helpful because it describes a glossy stain that still aims to leave behind a soft tint while keeping lips feeling conditioned. In practice, that kind of formula usually works better on dry lips than an ultra-flat stain, but it still needs a reasonably smooth base. Hydrating claims help, yet they do not erase flakes that were already there.
When to skip tint and repair first
Sometimes the right answer is not technique. It is timing. If your lips sting, split at the corners, peel in sheets, or keep feeling tight again ten minutes after balm, you are in repair mode, not stain mode. Cleveland Clinic's dry-lip advice is useful here because it treats repeated moisture support as basic care, not as an optional extra once the lips look pretty.
In other words, if the lips are actively cracked, a patchy tint is a symptom, not the core problem. That is the moment to use an overnight mask, a simpler daytime balm, more consistent reapplication, and less friction from licking, picking, or rubbing the mouth.
Picking formulas that fight you less
Not every tint behaves the same way. Very watery stains can catch fast on rough texture. Creamier or glossy-to-stain formulas can be more forgiving at first, especially when the lips are only mildly dry. But there is a tradeoff: more slip can also mean more chance of pooling if you never blot prep underneath.
The easiest way to judge a formula is this:
- If it dries down fast and sharp, it rewards smoother lips.
- If it stays juicy first and stains later, it usually needs cleaner blotting first.
- If both prep and technique are right and it still breaks apart every time, the formula may simply not suit your lips.
That is a better test than assuming every tint should work the same way on everyone.
The takeaway
Lip tint looks patchy on dry lips because color sticks hardest to the driest spots and refuses to settle evenly over wet balm or active flakes. Prep earlier, blot more, layer less, and treat overnight moisture as part of the makeup result rather than as a separate skincare chore. Once the lips are smoother, tint usually stops looking random and starts looking intentional.
Sources
- Cleveland Clinic: Chapped Lips (Cheilitis)
- DermNet: Cheilitis
- Byrdie: The 8 Best Lip Stains That Stayed on Testers' Lips All Day Long
- Fenty Beauty: Poutsicle Hydrating Lip Stain
- Laneige: Lip Sleeping Mask
Read next
- What to Do When Lip Tint Settles Into Lines – Read this if your tint mostly breaks along lip lines after it has already been on for a while.
- How to Use Lip Balm Before Lip Tint – Use this when the bigger question is how to prep with balm without making tint slide.
- Why Lip Balm Alone Does Not Fix Cracked Lips – Open this when dryness keeps returning and lip color problems seem bigger than one product.
