Quick answer
If your sponge seems to drink your foundation, check its directions before adding more product. Beautyblender Original and Real Techniques Miracle Complexion Sponge call for damp use, while some tools explicitly support dry application. For a damp-use sponge, wet it, then squeeze out excess water before applying makeup.
A similar shape doesn’t mean two sponges work the same way. The right method depends on the specific tool and its directions.

Beautyblender Original: wet, squeeze, bounce
Beautyblender’s Original directions say to wet the sponge for each use and squeeze out excess water, using a towel if needed. Apply complexion products by bouncing the sponge across the face. The directions include foundation, BB cream and powder, so powder isn’t a reason to skip the wetting step for this model.
Wetting is just the first step; the sponge shouldn’t be dripping. Squeeze it well, then use the recommended bouncing motion rather than dragging it across the face.
Beautyblender describes minimal product absorption as a benefit. That’s a brand claim, not a guarantee that no foundation stays in the sponge or a measured comparison with other tools.
Real Techniques: use the current model’s directions
Real Techniques’ current Miracle Complexion Sponge page says to wet the sponge before use and apply products with it damp. The brand recommends it for liquid and cream formulas, including foundation and sheer bases, and describes it as suited to light-to-medium coverage.
The sponge’s surfaces have different roles: use the flat edge to apply and cover, the rounded sides to blend, and the precision tip for smaller areas. You don’t need to load every surface with product at once.
Check the exact model and its current directions before applying advice from another Real Techniques sponge. A finish description such as “dewy” is brand positioning, not a promise of the same result with every foundation.
Dry use depends on the sponge
EcoTools’ Bioblender Duo page describes dry use for fuller coverage and touch-ups, and damp use for a sheerer, dewy look. Its how-to instructions also explain damp application: wet the sponge, squeeze it until damp, then bounce to blend. The page supports both methods for this tool while giving a specific sequence for damp use.
That’s a useful distinction: dry application is an option for this sponge, not a rule for every blending sponge. If you want to use a sponge dry, look for directions that say it’s suitable for that method.
StansOut: no water, with an initial damp step
StansOut’s current instructions say to squeeze the sponge in your hand to warm it before use; water isn’t required. The brand also recommends lightly dampening it for the first three to five uses to help break it in. For application, it directs a gentle bounce-and-roll motion after applying foundation. The flat edge can press powder into place.
The initial dampening and no-water use instructions can coexist. Follow the steps for that tool instead of assuming all water contact is wrong—or applying its instructions to a different sponge.
Before adding more foundation
If your base looks patchy, check the sponge’s identity and directions first. For a damp-use tool, squeeze out excess water. Then consider whether the formula and application motion match the tool’s instructions. Work on a manageable area so you can see how the product applies before adding more.
That’s a practical order to check, not an explanation for every patchy finish. Water amount alone won’t account for every result, and Glowfits has not measured foundation absorption or compared these sponges in a wear test. If a sponge remains frustrating to use, another suitable application tool may work better for you.
Let a damp sponge dry before storing
How you prepare a sponge and how you store it are separate questions. Beautyblender says to clean the sponge after use and let it dry completely in a clean, ventilated place; don’t store it closed while wet. Real Techniques also directs thorough air drying in a ventilated area.
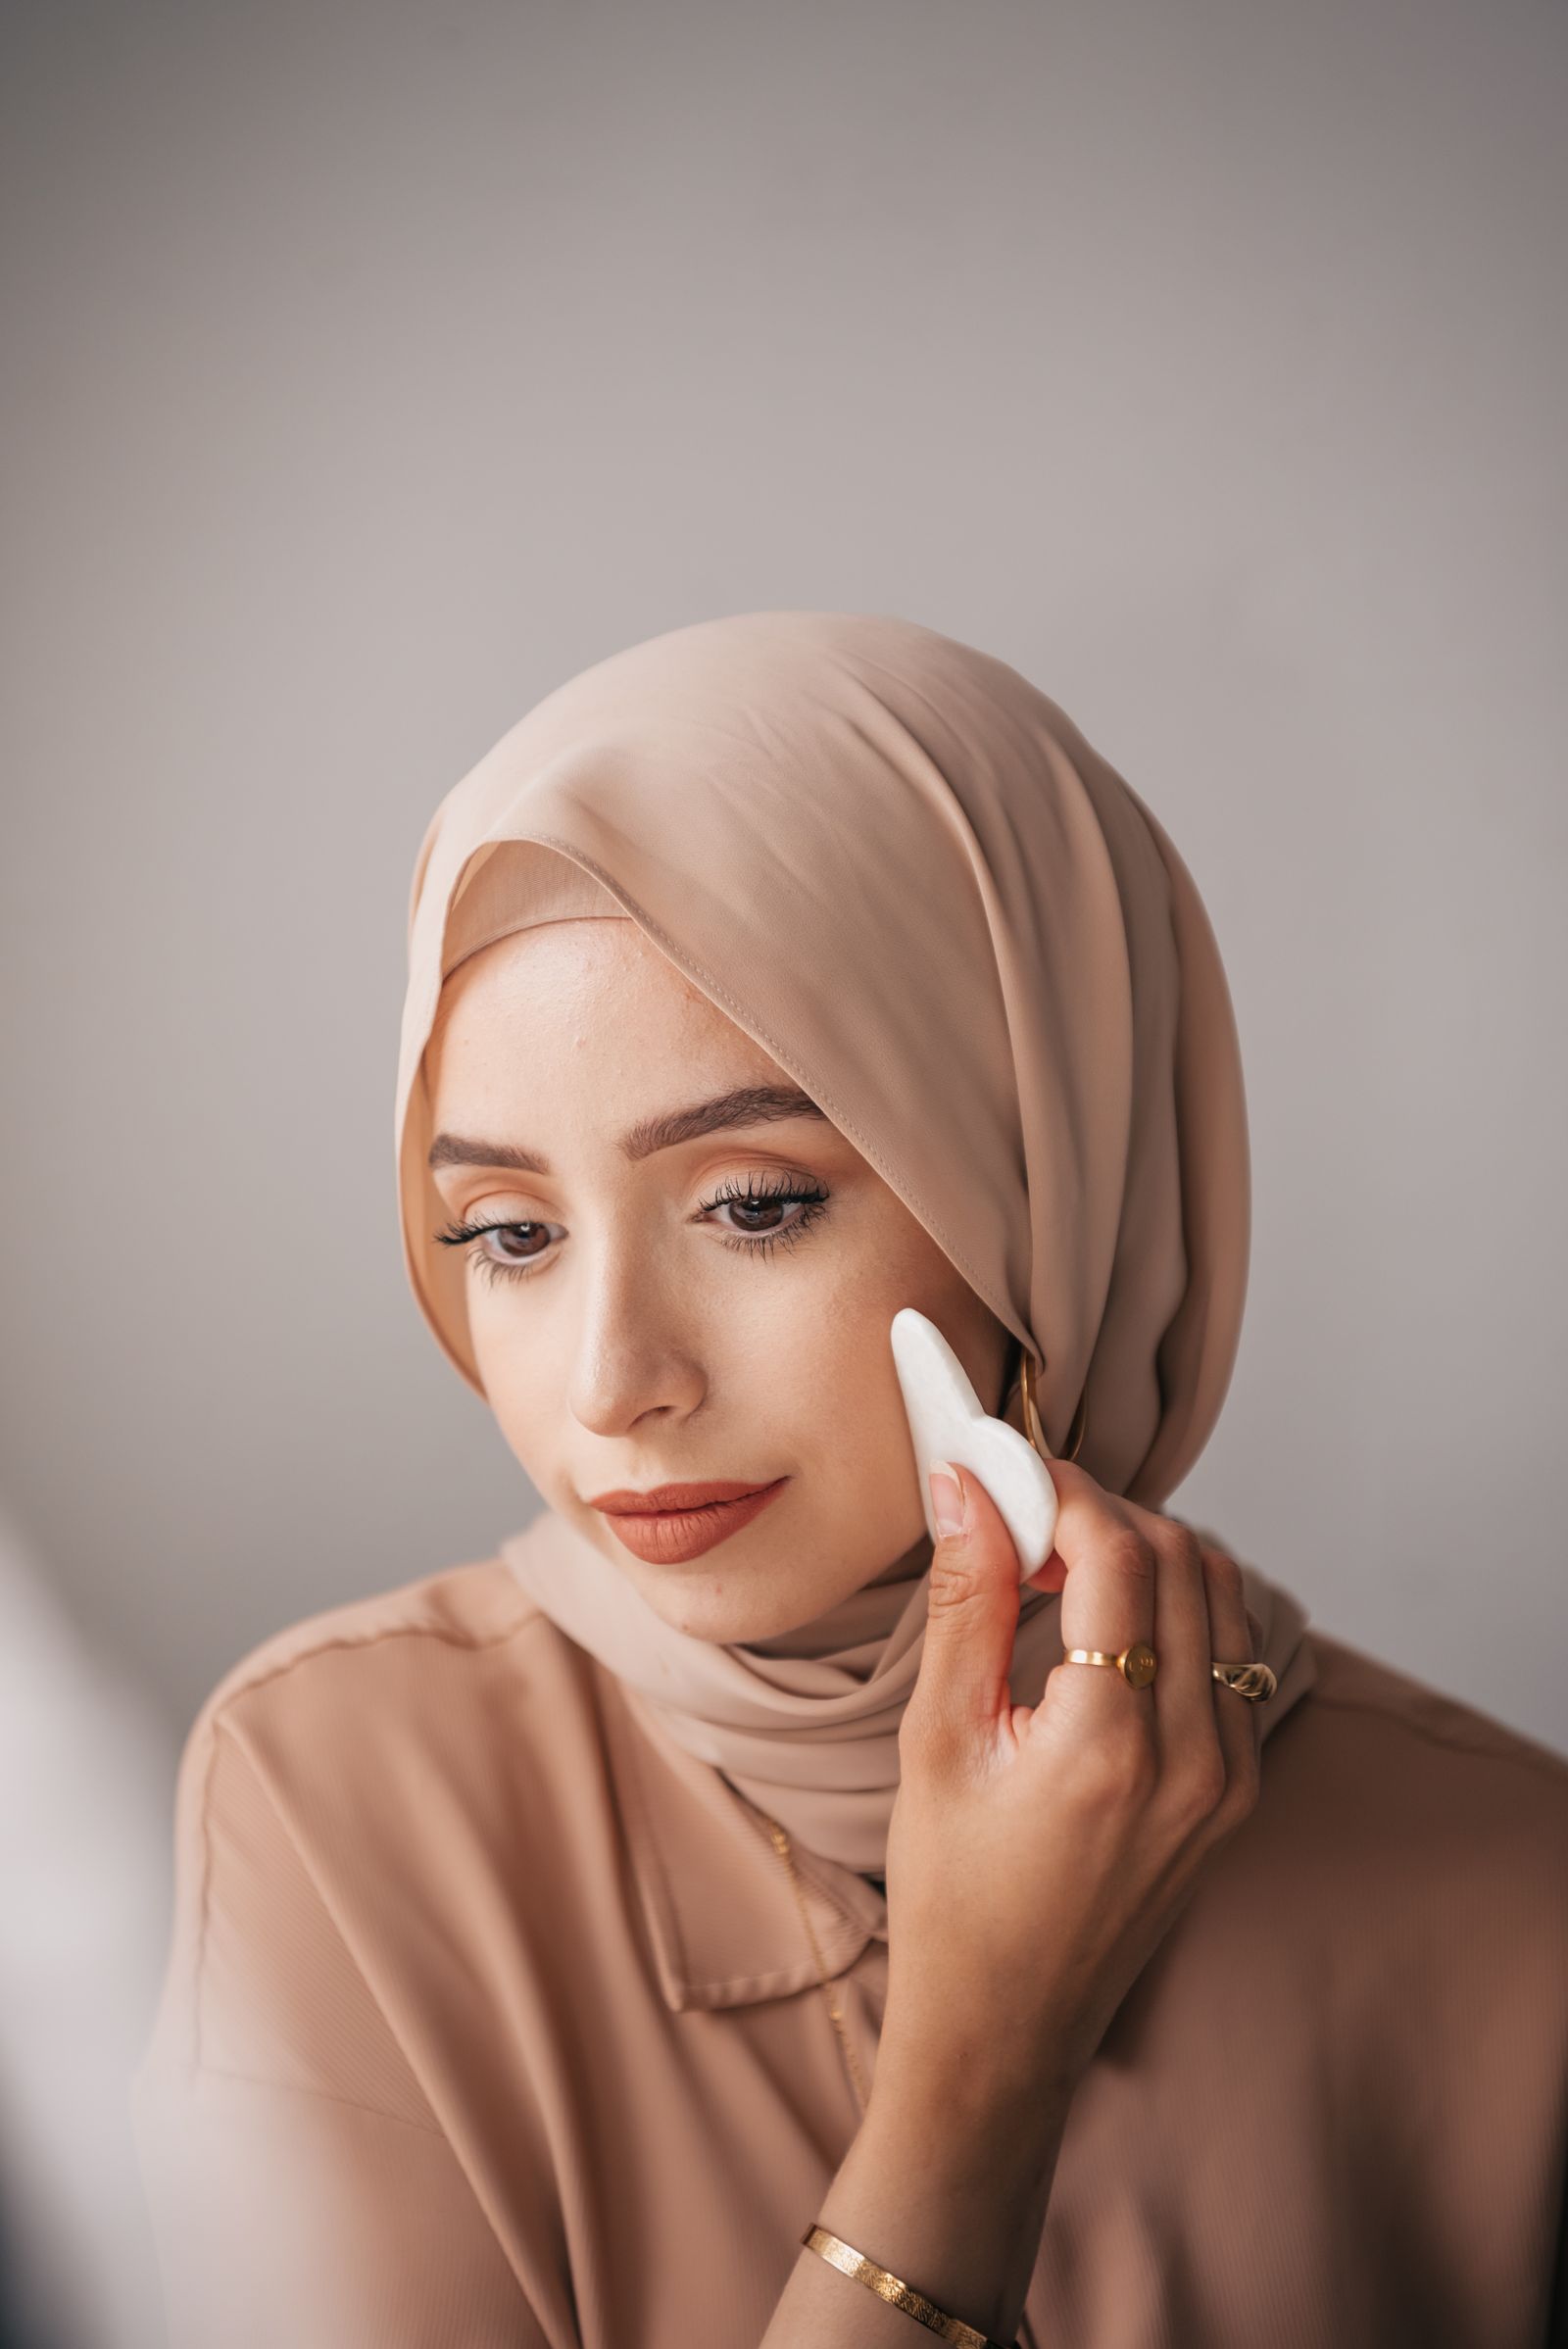
The photographs show a white facial applicator in use and a separate foam blender beside a brush. They don’t identify the named models, show how damp an applicator is, or compare coverage. Use the directions for your own sponge to choose how to apply makeup.
Read next
- How to Choose a Brush for Liquid Foundation
- How Often Should You Replace a Makeup Sponge or Beautyblender? Usually Every 3 to 6 Months
Sources
- Beautyblender Original: current use and care
- Real Techniques: Miracle Complexion Sponge
- EcoTools: Bioblender Duo
- StansOut: current sponge instructions
Image credits
- Featured image: PNW Production / pexels.com (original image page)
- Body image 1: DS stories / pexels.com (original image page)