Brow pencil can make the face look more finished in thirty seconds, but it can also make the brows look stamped on. The harsh-line problem usually comes from starting too dark at the front, drawing one solid underline, or choosing a shade that is warmer and deeper than the natural brow hair.
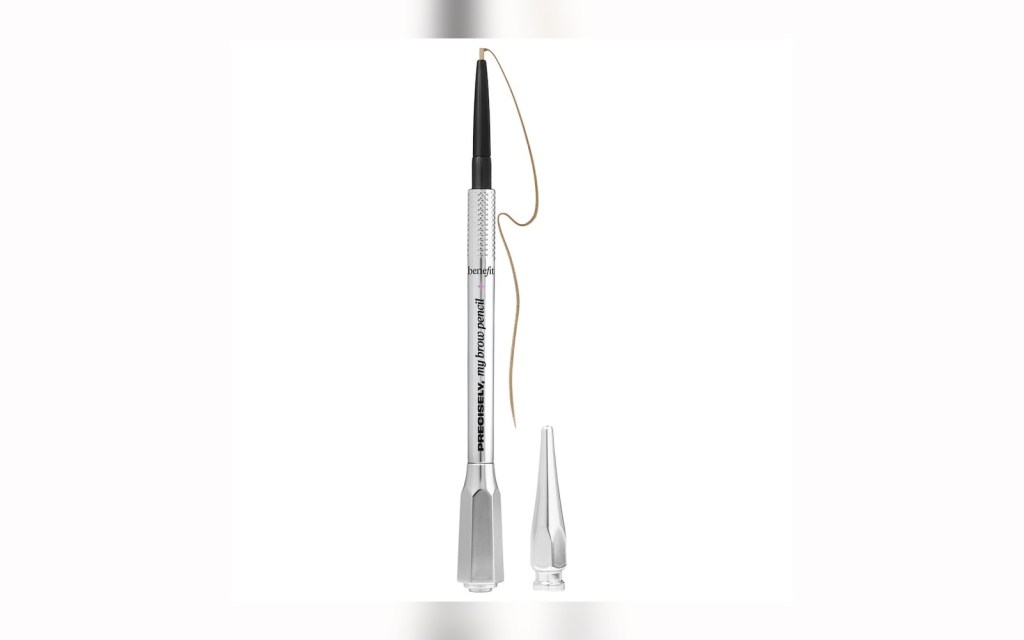
Benefit describes Precisely, My Brow Pencil as an ultra-fine waterproof eyebrow pencil designed for hairlike strokes. Sephora’s listing shows the same use case: precision filling and shaping. FDA eye cosmetic safety guidance is relevant because brow products sit close to the eye area: keep products clean, avoid sharing, and stop using eye-area cosmetics if irritation appears.
| Start point | Begin in the sparse middle or tail, not at the inner front of the brow. |
|---|---|
| Stroke shape | Use short, light strokes in the direction the hair naturally grows. |
| Front brow | Use leftover product only, then brush through with the spoolie. |
| Shade rule | When in doubt, choose a shade slightly softer rather than darker. |
The tail can be sharper than the front
A natural brow is not equally dark from front to tail. The tail can take more definition because it anchors the shape. The front should stay lighter and a little airy. If the front becomes a block, brush upward with the spoolie before adding more pencil anywhere else.
Use the pencil to replace missing hairs, not to color the entire brow skin. That single decision keeps the result modern. If you need more hold, add clear gel after the pencil, but wait long enough that the strokes do not smear.
The clean takeaway
A brow pencil looks best when it edits the brow rather than redraws it. Define the tail, feather the gaps, soften the front, and brush through before deciding you need more.

Leave a comment