Quick answer
Dried lash glue can stiffen a reusable strip or pull its band out of shape. After removal, follow the lash maker’s care directions: gently lift loose adhesive, wipe the lash with a compatible eye makeup remover, then let it dry before returning it to its tray. “Reusable” does not promise a set number of wears; the band and fibers still need to be in good condition.
This routine is for removable strip lashes. Bonded clusters, salon extensions, magnetic lashes and pre-glued styles may have different removal and care instructions, so check the lash and adhesive labels before cleaning.

Check the lash and adhesive instructions
Ardell’s official FAQ says its lashes may be worn multiple times with proper care, though the number varies by user. Its guidance is to clean the band and lashes with gentle eye makeup remover and return them to the original tray.
The adhesive matters, too. Ardell distinguishes temporary LashGrip from semi-permanent LashTite, which requires Lash Free remover. Don’t treat a longer-wear adhesive like ordinary strip-lash glue. If you don’t know which adhesive was used, check its directions or ask the maker or person who applied it before trying to remove residue.
Set up a clean workspace
Wash your hands and choose a well-lit surface. Keep the original tray, compatible cleaner and clean tools nearby. The FDA’s eye cosmetic guidance recommends clean hands and instruments around the eyes and cautions against scratching the eye when applying or removing cosmetics.
Clean the lashes only after they’re fully removed according to the adhesive’s directions. Use tweezers on a lash that’s already off your eye, not to scrape adhesive from your eyelid. If anything resists, stop and refer to the removal instructions instead of pulling harder.
Remove loose adhesive gently
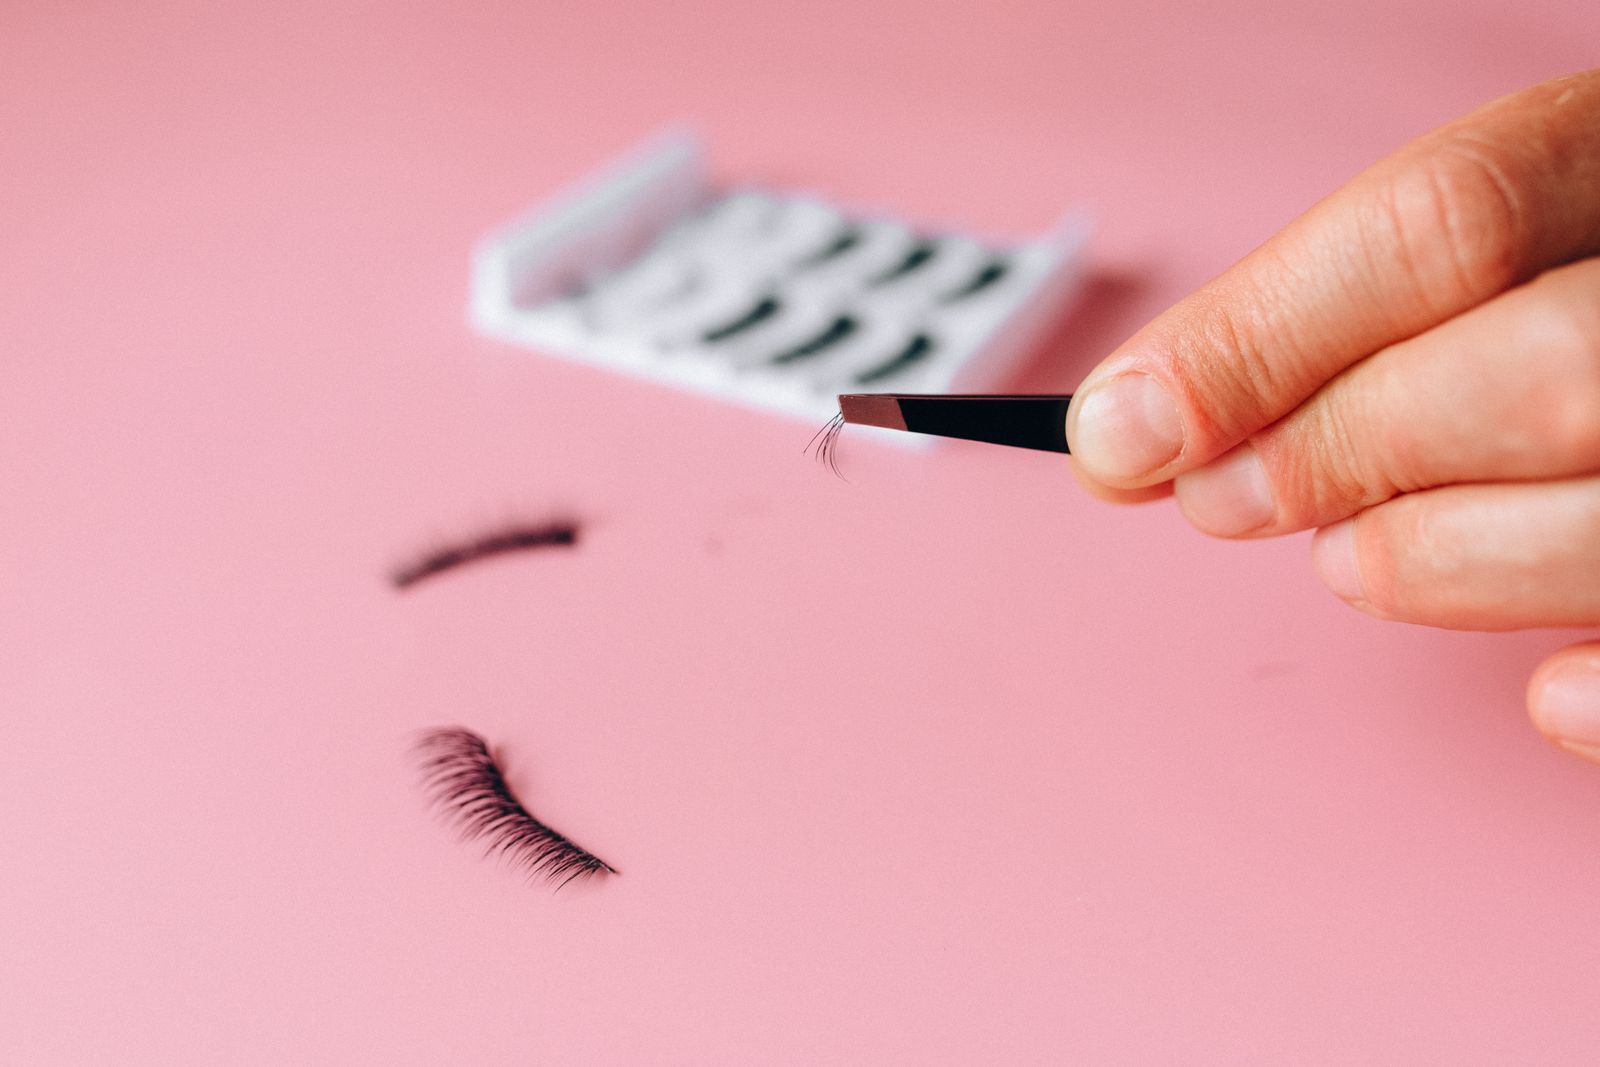
Hold the strip by its band and work slowly. L’Oréal Paris’s strip-lash guide describes gently lifting leftover glue with tweezers and using eye makeup remover for stubborn residue.
Use that approach only if it suits your lash and adhesive. Don’t peel until the band stretches or splits. Glue tangled through the fibers can be difficult to remove without damaging them; a hoped-for extra wear isn’t worth forcing the strip apart.
Wipe with a compatible cleaner
Use only the cleaner the lash maker names or allows. L’Oréal’s guide describes using a cotton swab to wipe makeup from the band and fibers, while Ardell recommends gentle eye makeup remover. These examples don’t establish a universal soaking or cleaning method for every lash material.
Start with light, targeted wiping rather than scrubbing. Avoid household solvents, lash-extension removers and homemade alcohol soaks unless the maker specifically directs you to use them. A product intended for one adhesive or lash type may not suit another.
Cleaning also does not prove that a lash is sterile or rule out an adhesive allergy. If the care instructions are missing or conflict, contact the maker rather than experimenting with a chemical mixture.
Let the lashes dry and check their shape
Follow the care directions for drying, then place a suitable pair back in its original tray so the bands keep their curve. Store the tray somewhere clean and protected from dust; don’t put damp lashes loose in a makeup pouch with used brushes and powders.
Before reusing them, look for a split band, badly deformed fibers or residue that prevents a clean fit. Replace a visibly damaged pair instead of trying to compensate with more adhesive.
Stop if irritation occurs
The FDA advises stopping use of an eye cosmetic that causes irritation and seeing a doctor if the irritation persists. Avoid eye cosmetics during an eye infection or inflammation, and discard products used during the infection. Don’t clean and reapply the same pair to see whether a reaction happens again.
Keep lashes personal rather than sharing them. When the care instructions or the condition of the band no longer support confident reuse, replace the pair.
Read next
Sources
- Ardell: Lash Care and Adhesive FAQs
- L’Oréal Paris: Cleaning False Eyelashes
- FDA: Eye Cosmetic Safety
Image credits
- Featured image: Nataliya Vaitkevich / pexels.com (original image page)
- Body image 1: Nataliya Vaitkevich / pexels.com (original image page)